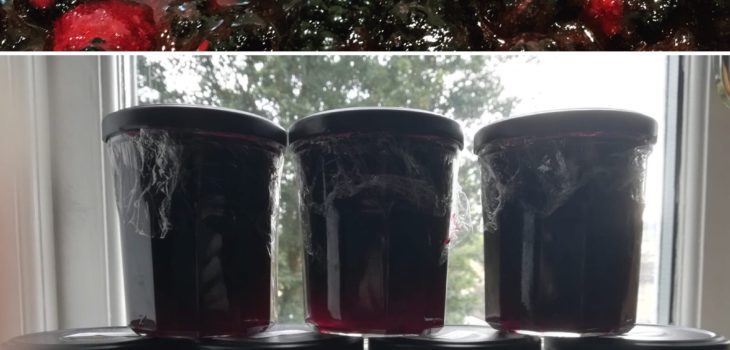
Blackberry Jam
Makes 8 Jars
There is something very satisfying about picking fruit for free and making something delicious from it. I’m sure it makes it more tasty.
This weekend we went blackberry picking along the canal by our home and managed to collect a hefty haul and I knew exactly what I wanted to do with them.
Several passers by stopped to ask what they’d be turned in to; a pie, crumble, jam? That was the winner.
My normal weekday breakfast at the moment is homemade bread topped with jam. Even better if I can pair it with a homemade preserve!
I made this naturally gluten-free and I also ensured it was vegan and dairy free (see the note in step 4).
You will need a large heavy-bottomed pan, eight jam jars and lids (plus wax circles or other sealants), and a sugar thermometer is useful, but not necessary.
- Ingredients:
- 1.75kg blackberries, washed
- 1.5kg jam sugar
- Juice of 1 lemon
Step 1: Place the blackberries, sugar and lemon juice in a large, heavy-bottomed saucepan. Place a saucer in the freezer.
Step 2: Heat the pan gently (I used a medium heat) so that the sugar dissolves into the natural juices of the blackberries.
Step 3: Bring to the boil and allow to simmer for 5-10 minutes (or, if using a sugar thermometer, when it reaches 102c).
Step 4: Remove from the heat whilst you test the consistency. Take the saucer from the freezer and put a teaspoon of the liquid on to it. Leave it to cool (30 seconds or so) and then push you finger in to it. If it wrinkles, it has reached the right consistency. If not, return the pan to the heat and boil again for another couple of minutes before testing again (make sure you’ve put the saucer back in the freezer). Keep repeating this until you have reached the right consistency, at which point remove from the heat completely and skim off any scum collected on the top. N.b. If you are not keeping this vegan/dairy-free you could add a small knob of butter at this point to help dissolve any remaining scum.
Step 5: Allow the jam to settle for 10 minutes before ladling into sterilised jars.
Step 6: Seal appropriately (wax seals, lids etc.) and store in a cool dark place (they should keep like this for several months). Refrigerate after opening.