Skip to content
The Food Wife logo
  • Home
  • About
  • Blog
  • Contact

Category: Cake

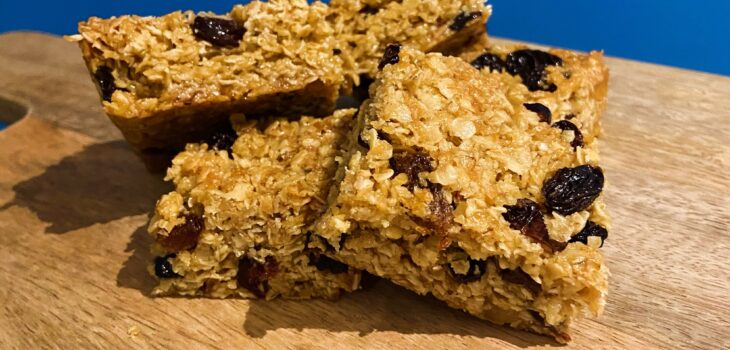
Fruit and Coconut Flapjacks

  • 9th October 2024
  • by thefoodwife

Makes 16 small pieces or 8 regular sized

I decided to do some baking ready for the afterschool demand for snacks. These turned out excellently. Just the right amount of chew, that hint of spice that you’d notice if it wasn’t there but can’t quite put your finger on and then sticky sweetness from the dried fruit. The coconut adds an extra yum. I did a half and half mix of vegan butter and coconut oil, to complement the desiccated coconut.

Great for hungry kids (and adults!)

Ingredients:

165g butter/vegan butter/coconut oil (or combination of the following to make up 165g)

125g granulated sugar

60g golden syrup

Pinch of salt (leave out if butter is salted)

75g (mixed if you like) dried fruit 

250g porridge oats (gluten-free if required)

50g unsweetened desiccated coconut 

1/4 tsp ground cinnamon 

1/4 tsp ground ginger

Step 1: Line an 8×8 inch tin with baking parchment. Preheat your oven to 180c (fan). 

Step 2: Measure the fat, sugar, syrup and salt into a small saucepan. Place on a medium-low heat and stir occasionally until the butter has melted and everything is combined when stirred. Add the dried fruit and cook on low for a few minutes until they have plumped up a little.

Step 3: Measure the oats, coconut and spices into a large bowl and carefully add the molten mixture (avoid getting this on your skin as it will burn). Stir everything together.

Step 4: Pour into your lined tin, use the back of the spoon to delicately spread the mix into all the corners and level out the mix. Don’t press too hard.

Step 5: Bake in the oven for 20 minutes. Remove from the oven, and allow to cool completely before cutting with a sharp knife into pieces. 

Store in an airtight container.
Popped Rice Ghosts

  • 16th September 2024
  • by thefoodwife

Makes 24

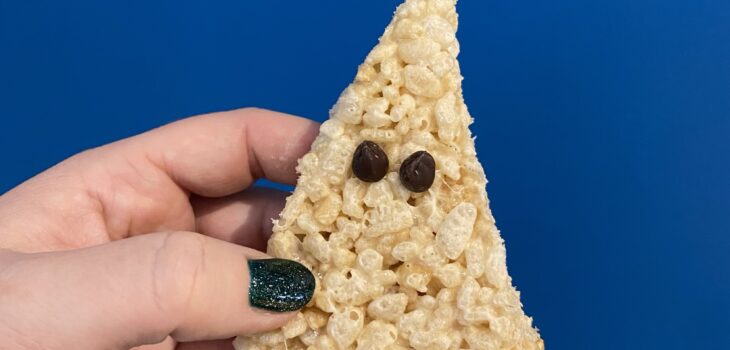
I absolutely love gooey marshmallow rice crispy treats. These cake bars are shaped roughly into ghosts which make them the perfect Halloween treat. There are a fun addition to any spread that you have for a Halloween party with children and they’re so easy children can help make them too! 

Ingredients:

100g butter 

150g condensed milk

400g marshmallows 

350g of Popped Rice cereal 

48 chocolate chips

Step 1: Using a large, heavy-bottomed saucepan melt the butter, condensed milk and marshmallows over a low heat. Stir constantly until smooth.

Step 2: Once smooth, remove from the heat and gradually add the rice krispies, stirring as you go until combined. It will be VERY sticky!!

Step 3: Next divide the mixture between 2 round cake tins (8-9 inches) that have been lined with greaseproof paper. Place another sheet of grease proof paper on the top and use a potato masher to even out and flatten the mixture. Keep covered with the grease proof paper.

Step 4: Leave to cool and once firmed up, cut the cakes into wedges (you should get 12 pieces per cake).

Step 5: Use dark or milk chocolate drops in place of the eyes these will be about halfway up. You can display the cakes with their wide base at the bottom and their point on the top!

These do have a tendency to go stale fairly quickly so make these on the day that you would like to eat them or if necessary the day before.

Coconut Ice

  • 2nd July 2024
  • by thefoodwife

Makes 900g

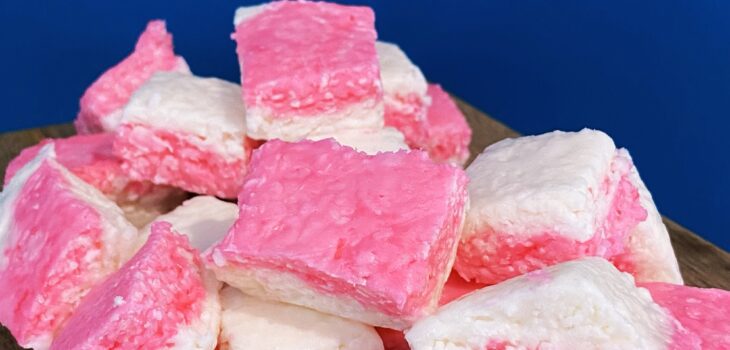
If there is one thing that takes me back to my primary school fayre it is the little bags of pink and white coconut ice, tied in small cellophane bags that the year 6 children had made. I couldn’t wait until I was old enough to make them to sell. Well, here we are 28 years since I made them for my year 6 stall, and I’ve made my own (neon!) pink and white morsels.

These are super simple, can be scaled up or down and require no cooking, just vigorous stirring and setting in the fridge until ready to cut into cubes.

Ingredients:

300g condensed milk

450g icing sugar

150g desiccated coconut (unsweetened)

Red/Pink food colouring

Step 1: Combine the condensed milk and icing sugar in a bowl, it will take a lot of mixing and be a very stiff mixture.

Step 2: Divide into two equal amounts in two bowls. Add a drop of food colouring to one bowl and stir until fully combined.

Step 3: Add 75g of desiccated coconut to each bowl and mix again.

Step 4: Line a 7×7 or 8x8inch tin with grease proof paper. Spread one bowl of mixture evenly (you could use a sheet of clingfilm or grease proof paper over the top and press with your hands to create a smooth, flat layer). Remove the clingfilm/paper and top with the next bowl’s contents. Use the same sheet of paper/film to smooth again.

Step 5: Set in the fridge until set (a few hours or overnight) before cutting into squares.

Store in a sealed container (they should last a couple of weeks like this).

Dark Chocolate Peppermint Creams

  • 2nd July 20242nd July 2024
  • by thefoodwife

Makes 20

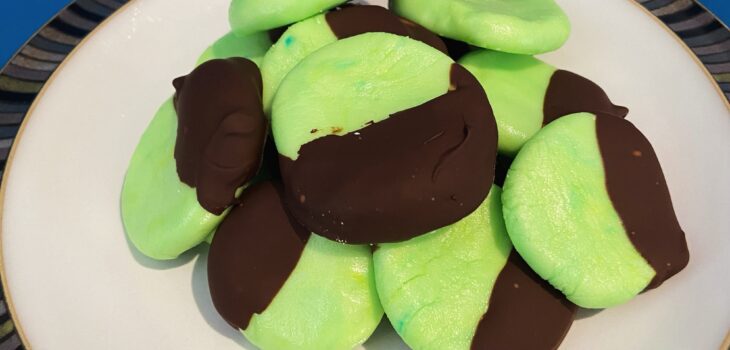
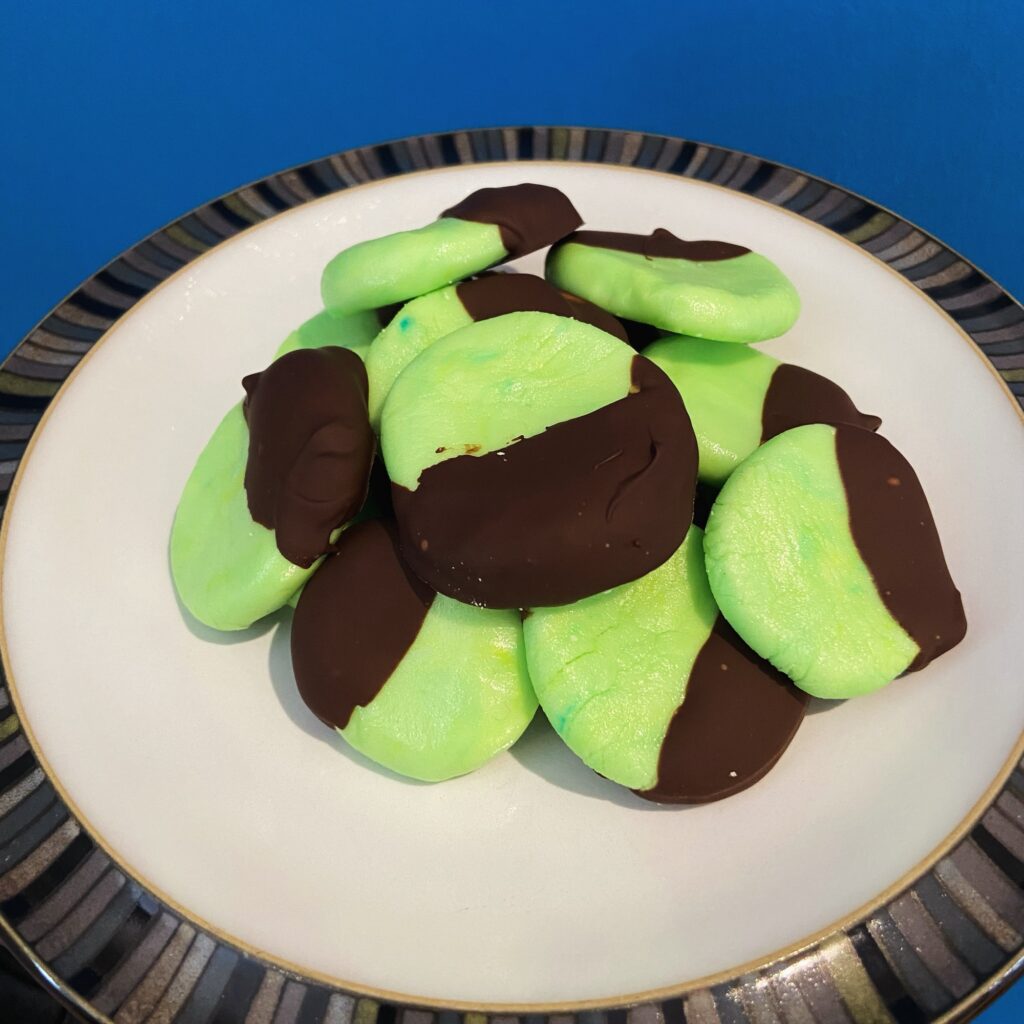
These no-cook minty sweets, are another blast from the past! I’ve coated half of each in dark chocolate, but you can entirely cover them if you fancy.

My four year old loved the bright green of these and announced he’d be having them for pudding, the day we made them!

Ingredients:

250g icing sugar

1 egg white

Peppermint extract

Green food colouring (optional)

100g dark chocolate (gluten-free/dairy-free as required)

Step 1: Combine the icing sugar with a few drops of the peppermint extract and a drop of food colouring (if using) and slowly add the egg white, a little at a time, until you have a smooth pliable dough. You might not need the full amount of egg so just add this bit by bit.

Step 2: Roll the dough into a sausage shape and divide into 20 pieces.

Step 3: Have a lined tray ready, and then take each piece of dough and roll it into a ball before gently flattening it into a disc onto the lined tray. Once all 20 are made pop them in the fridge to firm up.

Step 4: After at least a couple of hours, melt the dark chocolate in a bowl in the microwave. Do this in 30 second bursts, stirring after each time until melted and smooth.

Step 5: Carefully dip each disc in the melted chocolate and replace on the lined tray. Return to the fridge to fully set.

Store in a sealed container in the fridge until ready to devour!

Bright green peppermint creams

Sugar Mice

  • 2nd July 20242nd July 2024
  • by thefoodwife

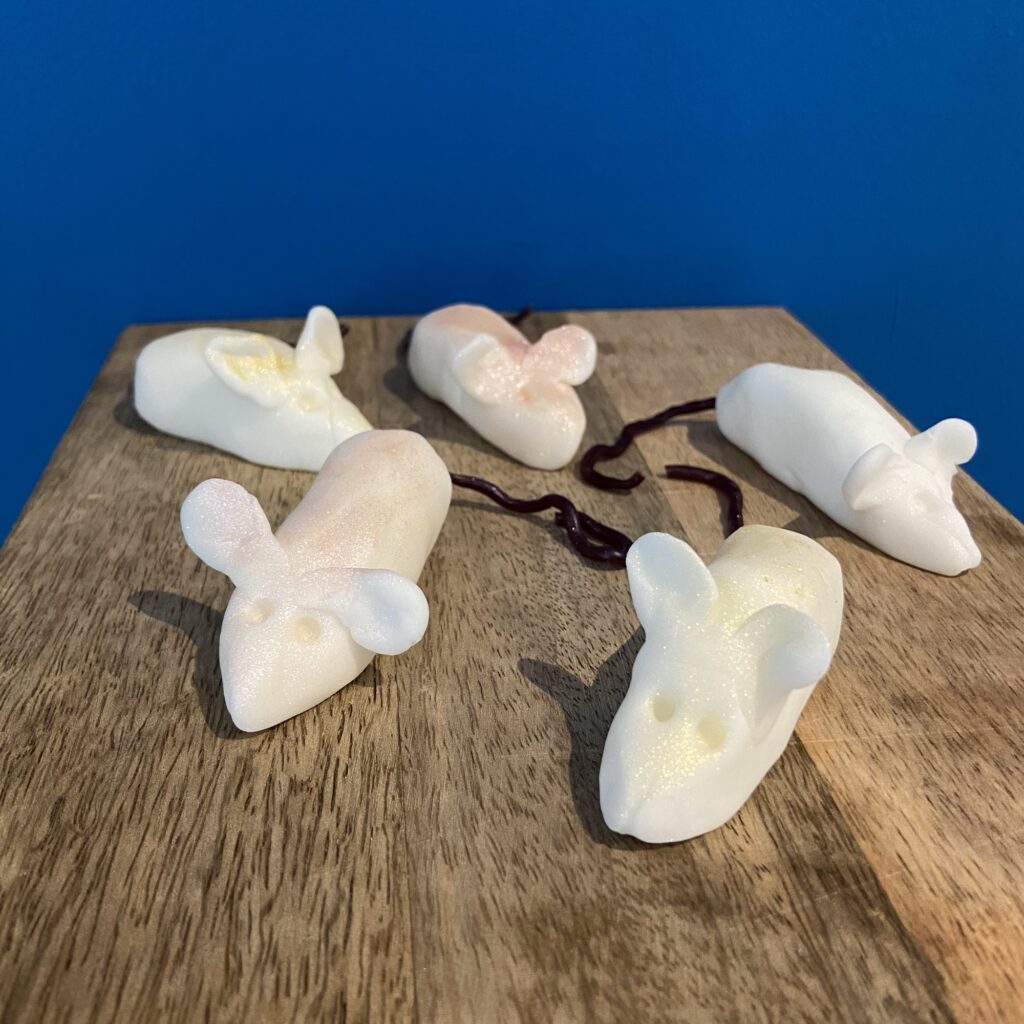
These are the cutest little mice and are hardly a recipe at all, rather instructions for little (or big!) hands to make using ready made icing.

Whilst these aren’t the crystally sugar mice (which have the sort of texture of Kendal mint cake) that you can still buy in old fashioned sweet shops, they are perfect to make at home.

Ingredients:

Ready made icing

Strawberry laces sweets (or similar)

Edible shimmer (optional)

Step 1: For each mouse measure out 30g of ready made icing, in the colour of your choice. Knead with your hands until smooth and pliable and then roll it in to a small sausage shape, then smooth one end into a round little bottom and the other in to a slight point for the nose.

Step 2: Use a cocktail stick (or similar) to make a hole in the rear end about 3/4 cm deep and insert a piece of the sweetie laces, cut to about 5cm long. Push it in as far as your hole goes and then use your fingers to gently pinch the icing around the tail and smooth it so it’s neat.

Step 3: Take a small piece of icing and make two small balls for the ears. Press each ball flat between your finger and thumb to make a little circle and then carefully smooth these onto the top of the head of the mouse, again use your finger to gently smooth the icing.

Step 4: Use the cocktail stick to poke two little eyes beneath the ears and then set each mouse to one side.

Step 5: If you like you can decorate the mice. I used an edible shimmer to lightly colour the mice.

Store in a sealed container until ready to eat!

The cutest little mice

Posts pagination

Previous page 1 2 3 4 … 10 Next page

Newsletter

Blog Search

Blog Categories

  • Air fryer 2
  • Alcohol 12
  • Baby Weaning 24
  • Baking 74
  • Beef 18
  • Bread 1
  • Brunch 7
  • Cake 47
  • Chicken 48
  • Christmas 14
  • Cocktails 9
  • Dairy-Free 228
  • Dessert 37
  • Duck 1
  • Fish 12
  • Gluten-Free 254
  • Instant Pot 19
  • Lamb 6
  • Lunch box fillers 2
  • Ostrich 1
  • Pasta 4
  • Pescatarian 13
  • Pork 38
  • Rabbit 1
  • Salad 9
  • Shellfish 10
  • Soup 1
  • Turkey 10
  • Uncategorised 6
  • Vegan 136
  • Vegetarian 243

Socials

  • Facebook
  • Twitter
  • Google
  • Linkedin
  • Instagram
  • Pinterest
  • Youtube
Theme by Colorlib Powered by WordPress
Back to top