Skip to content
The Food Wife logo
  • Home
  • About
  • Blog
  • Contact

Category: Cake

Banana “Carrot Cake” Muffins

  • 5th April 20245th April 2024
  • by thefoodwife

Makes 12

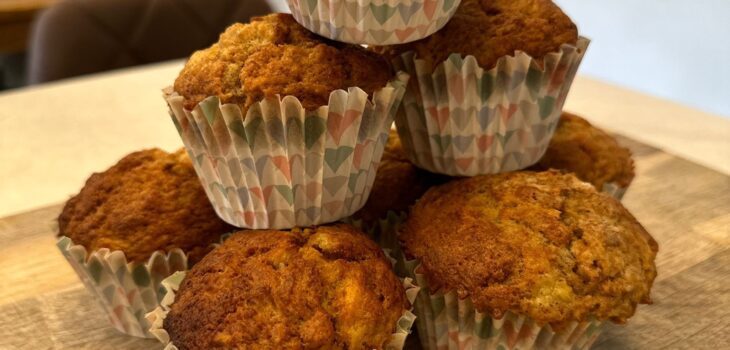
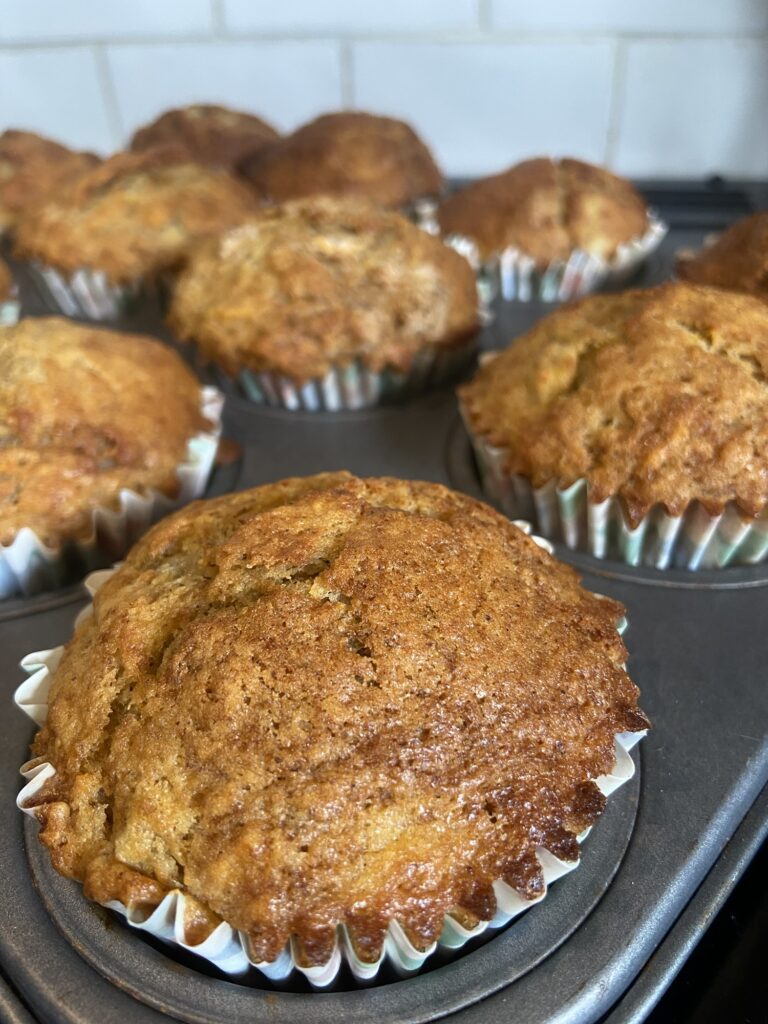
These muffins, combine banana and carrot with spices to create a light and fluffy treat. These are super easy to whip up and will store for up to 3 days in an airtight container.

I used vanilla sugar in my mix, but if you don’t have this use regular caster sugar, and add a teaspoon of vanilla extract to the wet ingredients. Happy baking!

Ingredients:

3 very ripe bananas, mashed

1 large carrot, finely grated

280g self-raising flour

3/4 tsp bicarbonate of soda

1/2 tsp salt

1 tbsp mixed spice

120g (vanilla) sugar

125g vegetable oil

2 eggs

60g natural/greek yoghurt (plant-based if dairy-free)

Step 1. Pre-heat the oven to 200°C (fan). Place 12 cases in a muffin pan.

Step 2: Loosely combine the banana, carrot, flour, bicarbonate of soda, salt, mixed spice and sugar in a bowl.

Step 3: Next in a jug combine the oil, eggs and yoghurt.

Step 4: Lightly combine the wet ingredients with the dry ingredients. Keep mixing to a minimum, this is essential for a light muffin.

Step 5: Fill the 12 muffin cases to the brim. Bake in the oven at 200°C for eight minutes, then lower the temperature to 180°C and bake for a further 15 minutes. Remove from the oven and allow to cool.

Once cooled, store in an airtight container for up to three days.
Chocolate Sprinkle Lollies

  • 10th March 202410th March 2024
  • by thefoodwife

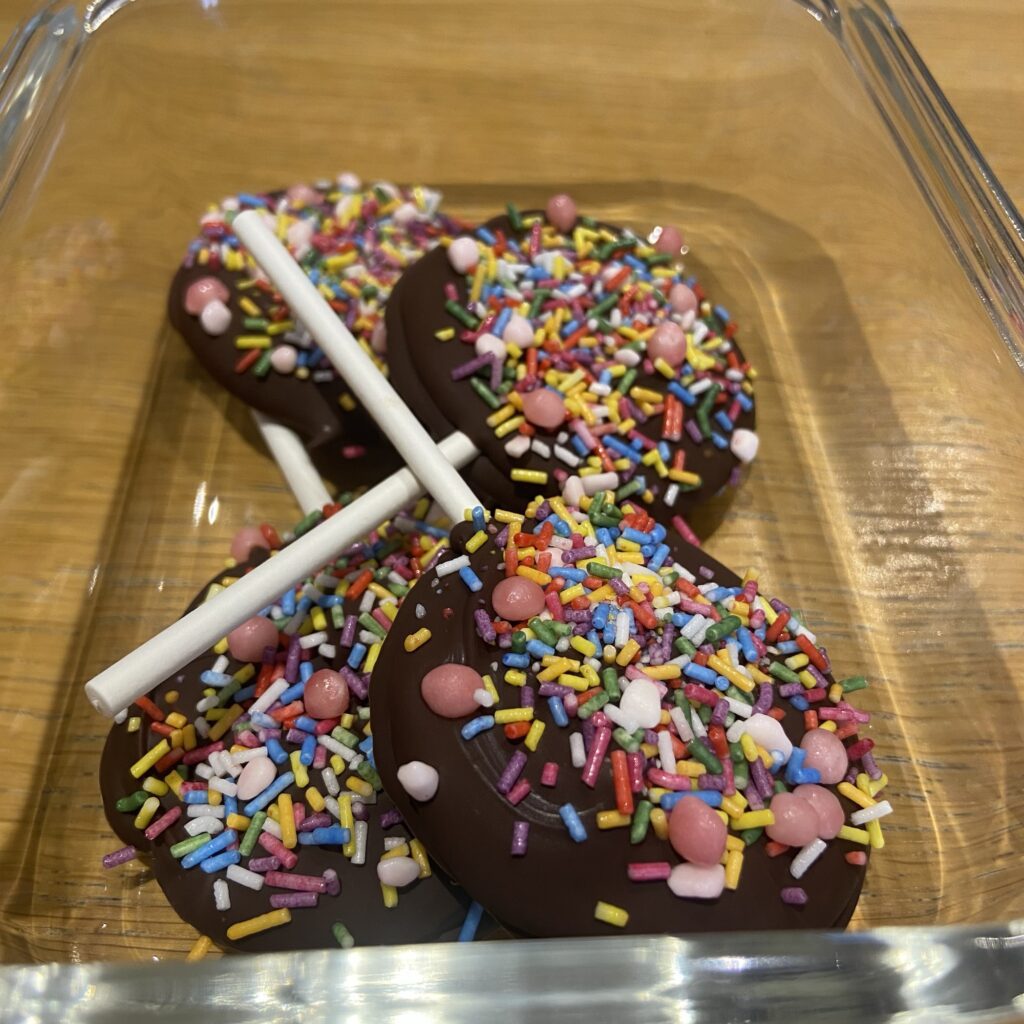
Such a great make with kids (or without!) and as my six-year old declared “these are super easy!” So no excuse not to make them!!

These are totally adaptable to your dietary requirements, just make sure your ingredients are suitable; gluten-free/vegan/vegetarian (be careful on the sprinkles – some are made with gluten/animal products) .

All you need is your chocolate of choice, sprinkles, lolly sticks, grease proof paper, a baking tray and a fridge or freezer…

Ingredients:

200g chocolate (gluten-free/vegan as required)

Sprinkles (gluten-free/vegan as required)

10 lolly sticks

Step 1: Prepare a baking tray with grease proof paper. Make sure the tray will fit flat in your fridge or freezer.

Step 2: Melt the chocolate in a bowl, either in the microwave (30 seconds at a time, stirring in between each increment). Stop shortly before all pieces are melted and then stir until smooth. Alternatively melt in a bain marie.

Step 3: Use a dessert spoon to make a thin circle of chocolate (about 4cm diameter) and then place a lolly stick into the centre. Repeat until you have made 10. Then put in the freezer (or fridge) until set (just a couple of minutes in the freezer).

Step 4: Remove the tray from the freezer and repeat a thicker circle over each lolly so you have a neat lolly. Cover with sprinkles and then return to the freezer, until set.

Try not to eat them all at once, instead store them in a tub in the fridge.

Store the lollies in a sealed tub in the fridge

Cheeky Biscoff Twists

  • 21st December 202321st December 2023
  • by thefoodwife

Makes 10 twists

These couldn’t be easier and only need 2 ingredients and 20 minutes.

Ingredients:

1 sheet of ready rolled puff pastry

2 heaped tbsp of smooth biscoff spread (I heated it for 30 seconds in the microwave to make it runny)

Optional: Icing sugar to serve

Step 1: Preheat the oven to 200c (fan) and line a large baking tray.

Step 2: Take the sheet of ready rolled puff pastry, spread half of it with the biscoff spread then fold the other half on top.

Step 3: Cut into 10 equal strips, and twist!

Step 4: Spread on the lined baking tray and bake for 18 mins.

Step 5: Dust with icing sugar and serve!

Chocolate Bourbon Tiffin

  • 21st November 202321st November 2023
  • by thefoodwife

Makes 16 squares

I love tiffin. It’s also known as refrigerator cake, as there’s no baking required. Setting the cake in the fridge results in a rich biscuity chocolate concoction, studded with other sweet treats. Adaptations are listed below to make these vegan and/or gluten-free.

Ingredients:

150g butter/vegan baking block

75g caster sugar

75g golden syrup

30g cocoa powder

150g chocolate bourbon biscuits (gluten-free/vegan if required), crushed to a mix of powder and chunks

2 handfuls of sultanas

2 handfuls of mini marshmallows (gluten-free/vegan if required)

100-200g dark and/or milk chocolate (gluten-free/vegan if required), melted.

Optional: I’ve made mine extra special with two tubes of Rolos (these should be gluten-free but unfortunately are not vegan)

Step 1: Line an 8×8 inch baking pan with grease proof paper.

Step 2: Over a medium low heat, melt the butter, sugar, syrup and cocoa together until smooth, remove from the heat and allow to cool slightly.

Step 3: In a bowl combine the crushed bourbon biscuits, sultanas, marshmallows and rolos (if using) and then stir through the cooled molten cocoa mix until fully combined.

Step 4: Tip into the lined pan and press out until it is in one smooth and level layer. Place in a fridge to set for half an hour.

Step 5: Smooth over the molten chocolate (100g will give a thin layer, 200g a thicker) and cover and place in the fridge to set for a couple of hours until everything is firm. Once fully set, cut into 16 squares using a hot knife.

Store in a sealed container in the fridge for up to a week.

Panettone Family Breakfast Stack

  • 13th November 202313th November 2023
  • by thefoodwife

Serves 2-4

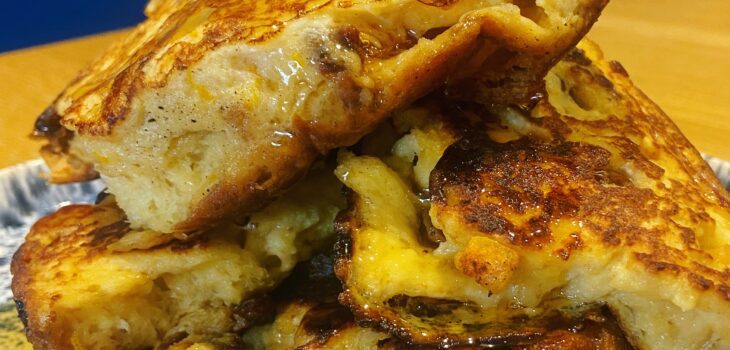
This is an excellent way to use up any leftover panettone. For my family breakfast stack I used a quarter of a 700g panettone that needed using up. Obviously you can increase (or decrease!) these quantities. We had this between four of us – each having a thick slice. Bigger appetites may manage two (or more!) slices. We served ours with maple syrup but you could bulk it up with fresh berries and Greek yogurt.

Ingredients:

1/4 wedge of a large panettone cut from base to top into four even slices.

2 large eggs

Splash of milk

Zest of one orange (optional)

Nob of butter

Vegetable oil

Topping ideas:

Maple syrup (optional)

Fresh berries (optional)

Greek yogurt (optional)

Chocolate sauce (optional)

Step 1: Beat together the eggs, a decent splash of milk and the zest of an orange in a wide dish. It needs to be wide enough to hold the panettone slices without damaging them. You can do these one or two at a time. Nestle them in the dish and allow them to soak up the eggy mixture for a minute until careful turning over for another 30 seconds or so.

Step 2: Heat a non stick pan over a medium high heat with a small amount of vegetable oil and the nob of butter. Once the butter is melted and bubbling it’s ready for the panettone.

Step 3: Add the slices of panettone not crowding them and allow them to cook, lowering the heat as necessary. Cook each side for a few minutes until golden and slightly crispy.

Step 4: Stack the cooked panettone on a serving plate and either dress with your choice of toppings and give everyone a plate and let them dig in, or divide between plates and top as desired before devouring. Enjoy!

Posts pagination

Previous page 1 2 3 4 5 … 10 Next page

Newsletter

Blog Search

Blog Categories

  • Air fryer 2
  • Alcohol 12
  • Baby Weaning 24
  • Baking 74
  • Beef 18
  • Bread 1
  • Brunch 7
  • Cake 47
  • Chicken 48
  • Christmas 14
  • Cocktails 9
  • Dairy-Free 228
  • Dessert 37
  • Duck 1
  • Fish 12
  • Gluten-Free 254
  • Instant Pot 19
  • Lamb 6
  • Lunch box fillers 2
  • Ostrich 1
  • Pasta 4
  • Pescatarian 13
  • Pork 38
  • Rabbit 1
  • Salad 9
  • Shellfish 10
  • Soup 1
  • Turkey 10
  • Uncategorised 6
  • Vegan 136
  • Vegetarian 243

Socials

  • Facebook
  • Twitter
  • Google
  • Linkedin
  • Instagram
  • Pinterest
  • Youtube
Theme by Colorlib Powered by WordPress
Back to top