Skip to content
The Food Wife logo
  • Home
  • About
  • Blog
  • Contact

Category: Gluten-Free

Salted Pretzel and Dark Chocolate Chip Ice Cream

  • 2nd August 2024
  • by thefoodwife

Makes approx 1.3kg

Here we go again! The easiest no-churn method for making ice cream, this time with the delightful combination of salted pretzels and dark chocolate. Heaven!

Ingredients:

600ml Double Cream

397g condensed milk

2 tsp vanilla extract

200g dark chocolate, roughly chopped in to small pieces (reserve approx 1/4)

100g salted pretzels (gluten-free if required), crushed in to small pieces (reserve 5-6 whole)

Step 1: In a large bowl,with an electric beater, whisk together the cream, condensed milk and vanilla extract, into soft peaks.

Step 2: Fold through the chocolate and crushed pretzels, keeping the reserved pieces to one side.

Step 3: Transfer into a sealable container (a 2L tub should be perfect) and then sprinkle over the reserved chocolate and poke in the remaining whole pretzels. Seal with a lid and freeze for 5-6 hours or ideally over night.
Coconut Ice

  • 2nd July 2024
  • by thefoodwife

Makes 900g

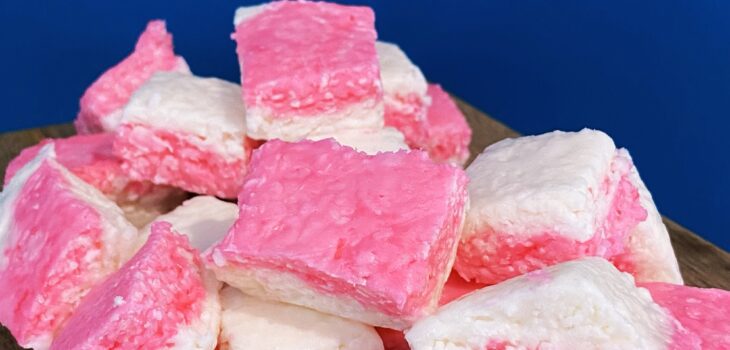
If there is one thing that takes me back to my primary school fayre it is the little bags of pink and white coconut ice, tied in small cellophane bags that the year 6 children had made. I couldn’t wait until I was old enough to make them to sell. Well, here we are 28 years since I made them for my year 6 stall, and I’ve made my own (neon!) pink and white morsels.

These are super simple, can be scaled up or down and require no cooking, just vigorous stirring and setting in the fridge until ready to cut into cubes.

Ingredients:

300g condensed milk

450g icing sugar

150g desiccated coconut (unsweetened)

Red/Pink food colouring

Step 1: Combine the condensed milk and icing sugar in a bowl, it will take a lot of mixing and be a very stiff mixture.

Step 2: Divide into two equal amounts in two bowls. Add a drop of food colouring to one bowl and stir until fully combined.

Step 3: Add 75g of desiccated coconut to each bowl and mix again.

Step 4: Line a 7×7 or 8x8inch tin with grease proof paper. Spread one bowl of mixture evenly (you could use a sheet of clingfilm or grease proof paper over the top and press with your hands to create a smooth, flat layer). Remove the clingfilm/paper and top with the next bowl’s contents. Use the same sheet of paper/film to smooth again.

Step 5: Set in the fridge until set (a few hours or overnight) before cutting into squares.

Store in a sealed container (they should last a couple of weeks like this).

Dark Chocolate Peppermint Creams

  • 2nd July 20242nd July 2024
  • by thefoodwife

Makes 20

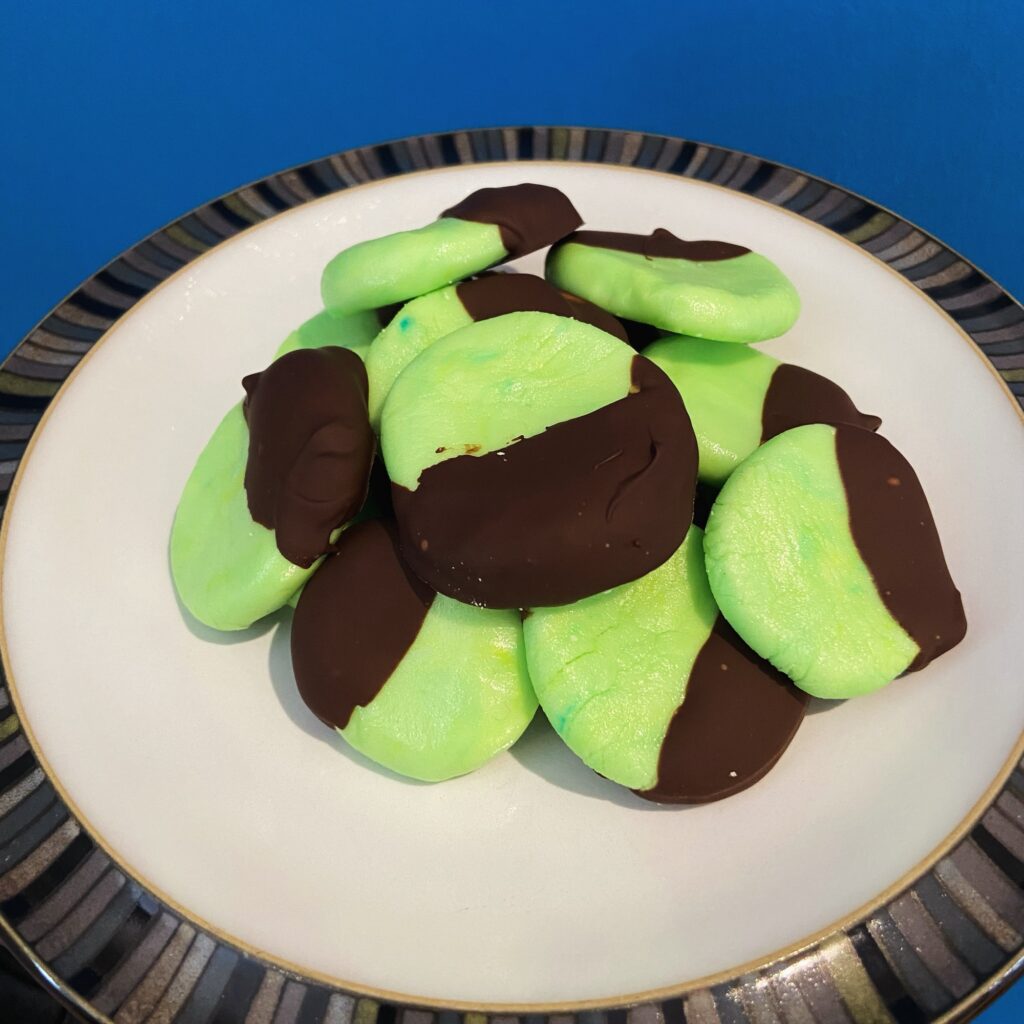
These no-cook minty sweets, are another blast from the past! I’ve coated half of each in dark chocolate, but you can entirely cover them if you fancy.

My four year old loved the bright green of these and announced he’d be having them for pudding, the day we made them!

Ingredients:

250g icing sugar

1 egg white

Peppermint extract

Green food colouring (optional)

100g dark chocolate (gluten-free/dairy-free as required)

Step 1: Combine the icing sugar with a few drops of the peppermint extract and a drop of food colouring (if using) and slowly add the egg white, a little at a time, until you have a smooth pliable dough. You might not need the full amount of egg so just add this bit by bit.

Step 2: Roll the dough into a sausage shape and divide into 20 pieces.

Step 3: Have a lined tray ready, and then take each piece of dough and roll it into a ball before gently flattening it into a disc onto the lined tray. Once all 20 are made pop them in the fridge to firm up.

Step 4: After at least a couple of hours, melt the dark chocolate in a bowl in the microwave. Do this in 30 second bursts, stirring after each time until melted and smooth.

Step 5: Carefully dip each disc in the melted chocolate and replace on the lined tray. Return to the fridge to fully set.

Store in a sealed container in the fridge until ready to devour!

Bright green peppermint creams

Sugar Mice

  • 2nd July 20242nd July 2024
  • by thefoodwife

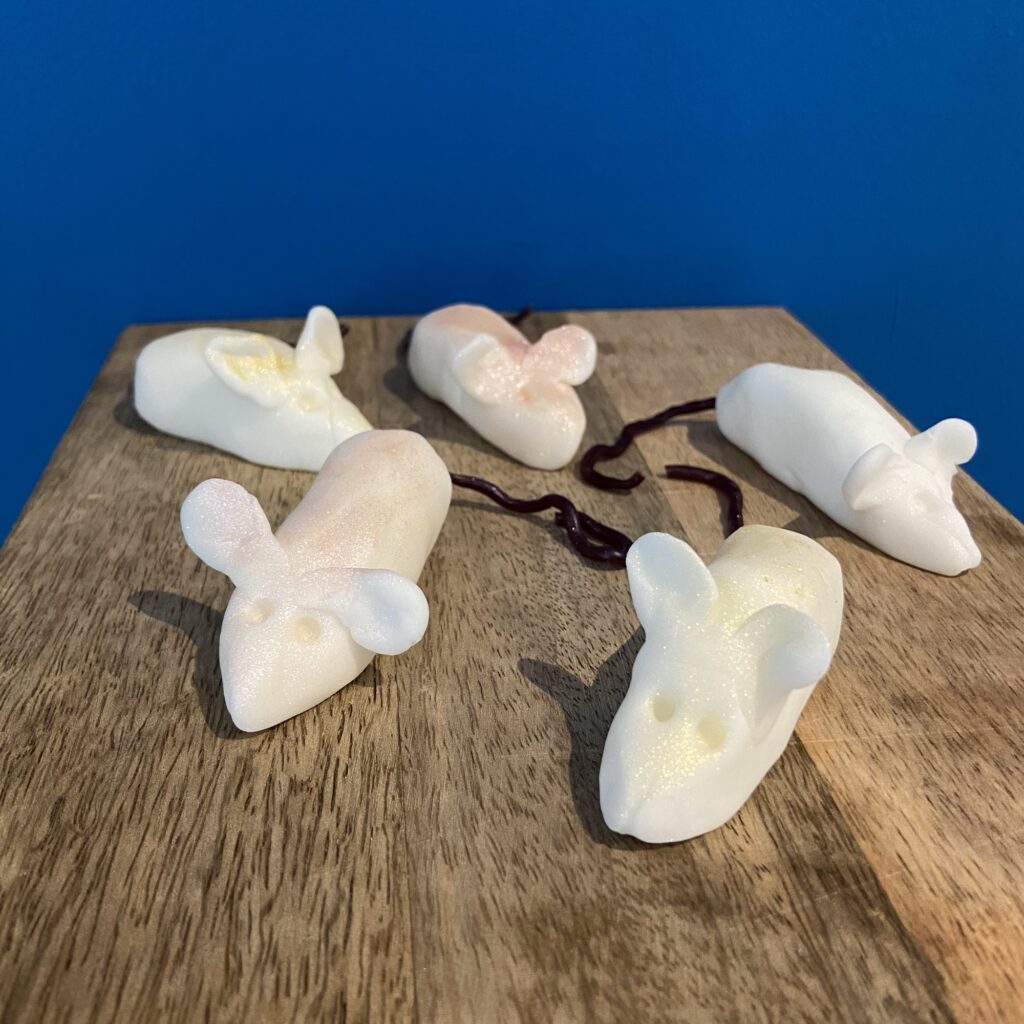
These are the cutest little mice and are hardly a recipe at all, rather instructions for little (or big!) hands to make using ready made icing.

Whilst these aren’t the crystally sugar mice (which have the sort of texture of Kendal mint cake) that you can still buy in old fashioned sweet shops, they are perfect to make at home.

Ingredients:

Ready made icing

Strawberry laces sweets (or similar)

Edible shimmer (optional)

Step 1: For each mouse measure out 30g of ready made icing, in the colour of your choice. Knead with your hands until smooth and pliable and then roll it in to a small sausage shape, then smooth one end into a round little bottom and the other in to a slight point for the nose.

Step 2: Use a cocktail stick (or similar) to make a hole in the rear end about 3/4 cm deep and insert a piece of the sweetie laces, cut to about 5cm long. Push it in as far as your hole goes and then use your fingers to gently pinch the icing around the tail and smooth it so it’s neat.

Step 3: Take a small piece of icing and make two small balls for the ears. Press each ball flat between your finger and thumb to make a little circle and then carefully smooth these onto the top of the head of the mouse, again use your finger to gently smooth the icing.

Step 4: Use the cocktail stick to poke two little eyes beneath the ears and then set each mouse to one side.

Step 5: If you like you can decorate the mice. I used an edible shimmer to lightly colour the mice.

Store in a sealed container until ready to eat!

The cutest little mice

Korean-Style Chicken Wings

  • 6th June 20246th June 2024
  • by thefoodwife

Serves 2-4

Tonight’s dinner all started with a jar of near-empty strawberry jam. I remembered a great recipe by Eric Kim I’d made last year with chickpeas in this amazing Korean style sauce, which used a tablespoon of strawberry jam. So here we have my version with chicken wings. It’s sweet, spicy and sticky. Enjoy!

Ingredients:

750g-1kg chicken wings

1 tbsp strawberry jam

1 tbsp honey

1 tbsp soy sauce (gluten-free if required)

1 tbsp gochujang (gluten-free if required)

1 tbsp sesame seeds

3 tbsp tomato ketchup

Step 1: Preheat the oven to 190c (fan).

Step 2: Use a sharp knife to cut the wings on their joint to create two pieces from each wing. Spread these on a baking tray and cook for 30-35 minutes until cooked through but not too crispy.

Step 3: Meanwhile combine the remaining ingredients to a smooth sauce.

Step 4: Once the wings are out of the oven, heat a wok over a medium high heat, transfer the wings to the wok, and add the sauce, stir frying them until the sauce coats all the wings and it has reduced to a glorious sticky glaze (this should take five minutes or so).

Serve hot but try not to eat them all on your own…

Posts pagination

Previous page 1 … 4 5 6 7 8 … 51 Next page

Newsletter

Blog Search

Blog Categories

  • Air fryer 2
  • Alcohol 12
  • Baby Weaning 24
  • Baking 74
  • Beef 18
  • Bread 1
  • Brunch 7
  • Cake 47
  • Chicken 48
  • Christmas 14
  • Cocktails 9
  • Dairy-Free 228
  • Dessert 37
  • Duck 1
  • Fish 12
  • Gluten-Free 254
  • Instant Pot 19
  • Lamb 6
  • Lunch box fillers 2
  • Ostrich 1
  • Pasta 4
  • Pescatarian 13
  • Pork 38
  • Rabbit 1
  • Salad 9
  • Shellfish 10
  • Soup 1
  • Turkey 10
  • Uncategorised 6
  • Vegan 136
  • Vegetarian 243

Socials

  • Facebook
  • Twitter
  • Google
  • Linkedin
  • Instagram
  • Pinterest
  • Youtube
Theme by Colorlib Powered by WordPress
Back to top