Cereal Bars
Makes 14
The Food Husband has recently started a gluten-free diet to see if it will improve a chronic illness he suffers from. I’ve had a week to plan and start getting more gluten-free ingredients ready to use.
Evening meals, when we eat together, aren’t an issue, as we often eat gluten-free or they are meals that can be easily adapted. A bigger challenge is finding him breakfast and lunch ideas for when he is at work. So I’ve started with breakfast.
His normal go-to breakfast on a work day is a cereal bar. They are convenient and quick to eat at his desk when he arrives. His usual bars are not certified as suitable for coeliac diets, and shop-bought gluten-free alternatives are pricey, so I’ve made our own.
The oats and Rice Krispies I have used are certified gluten-free versions but if this is not a requirement for you then by all means use regular cereals (it’s definitely cheaper!). I’ve also kept these vegan, but again if this isn’t necessary, honey could be used in place of the syrup.
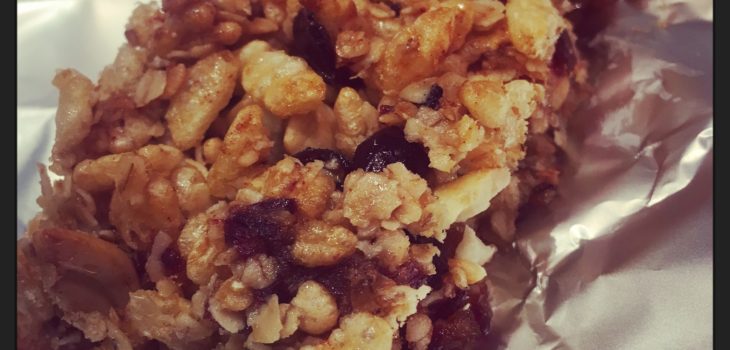
I have wrapped each one in foil and then stored them in an airtight container. These need to be eaten fairly fresh, but should last the two or so weeks I’m expecting for the Food Husband to make his way through them.
- Ingredients:
- 110g oats (1 cup) (gluten-free if required)
- 90g Rice Krispies (3 cups) (gluten-free if required)
- 150g (1 cup) cashew nuts
- 350g (1 cup) golden syrup
- 3 tbsp coconut oil
- 120g chopped dates (approx. 1 cup when uncut)
Step 1: In a large bowl, combine the oats, Rice Krispies and cashew nuts.
Step 2: Over a medium heat, melt the coconut oil, syrup and chopped dates together, until little bubbles start to rise to the surface.
Step 3: Carefully pour the hot liquid over the dry ingredients and stir with a spoon until everything is coated.
Step 4: Spread into a lined baking tray (suitable for a tray bake) and press down with the back of a metal spoon.
Step 5: Bake at 170c (fan) for 20 minutes.
Step 6: Remove from the oven and allow to semi-cool in the tin. After about half an hour, whilst still in the tin, use a knife to carefully cut into 14 pieces (cut in half length wise and then divide each into seven). Once fully cool, wrap individually and store in an airtight container.
N.B. you could reduce the amount of syrup to 3/4 of a cup but any less will make it difficult for these to stick together.