Skip to content
The Food Wife logo
  • Home
  • About
  • Blog
  • Contact

Category: Vegan

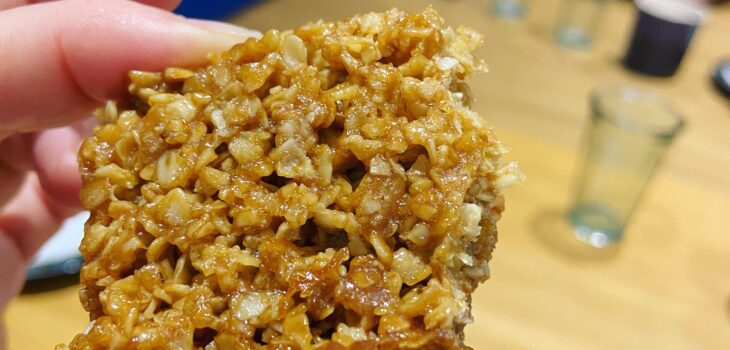
Flap Jacks

  • 17th September 202318th September 2023
  • by thefoodwife

Makes 6 big pieces

I love a flap jack. So simple. So delicious. An easy bake with kids. Very portable (hello lunchbox ideas!) and adaptable. Need it gluten-free, simple. Need it dairy-free or vegan, an easy swap and you’ve got the perfect bake.

If you like you can add a little spice (ground ginger or cinnamon work well – just a little is needed – try half a teaspoon), want it fruity? Add 75g sultanas or raisins, or chopped apricots or glacé cherries. Want them chocolatey? Drizzle some melted chocolate over them once they are fully cooled.

Ingredients:

165g butter/vegan butter

125g soft light brown sugar

60g golden syrup

Pinch of salt (leave out if butter is salted)

250g porridge oats (gluten-free if required)

Step 1: Line an 8×8 inch tin with baking parchment. Preheat your oven to 180c (fan).

Step 2: Measure the butter, sugar, syrup and salt into a small saucepan. Place on a medium-low heat and stir occasionally until the butter has melted and everything is combined when stirred.

Step 3: Measure the boats into a large bowl and carefully add the molten mixture (avoid getting this on your skin as it will burn). Stir everything together.

Step 4: Pour into your lined tin, use the back of the spoon to delicately spread the mix into all the corners and level out the mix. Don’t press too hard.

Step 5: Bake in the oven for 25 minutes (20 if you like a softer flap jack). Remove from the oven, after five minutes use a knife to mark your pieces (six large pieces or lots of small squares if you prefer). Then leave to cool completely before cutting properly. Store in an airtight container.

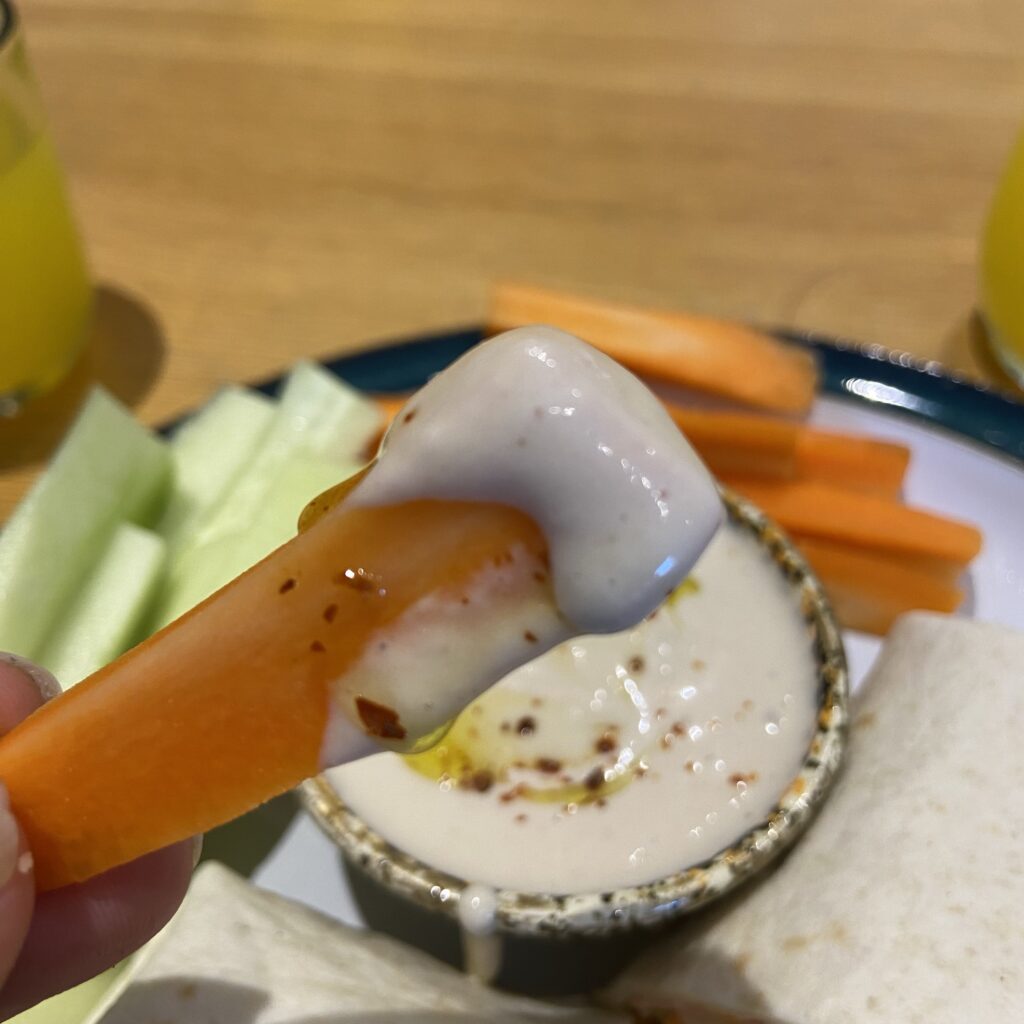
Cannellini Bean Hummus

  • 2nd September 20232nd September 2023
  • by thefoodwife

I’m making a lot of my own hummus at the moment. I’m whizzing up lots of variations with chick peas but this cannellini bean version is silky smooth and delicious. I’ve made a very loose hummus by using all the liquid in the tin of beans but you can of course drain them and make a thicker hummus. Also if you want a garlic hit, add a clove to the ingredients list.

Ingredients:

1 tin of cannellini beans (including their liquid)

1 heaped tbsp tahini

1 large pinch of ground cumin

Juice of half a lemon

Pinch of salt

Drizzle of olive oil

Step 1: Place all ingredients in a blender, and blitz until smooth. Check the seasoning, add more salt/cumin/lemon as desired.

Step 2: For extra silkiness add an ice cube and blend until fully incorporated – it’s worth it, I promise!

Store in a sealed container in the fridge and it should be good for the next 4 days.

The perfect dip for crudités

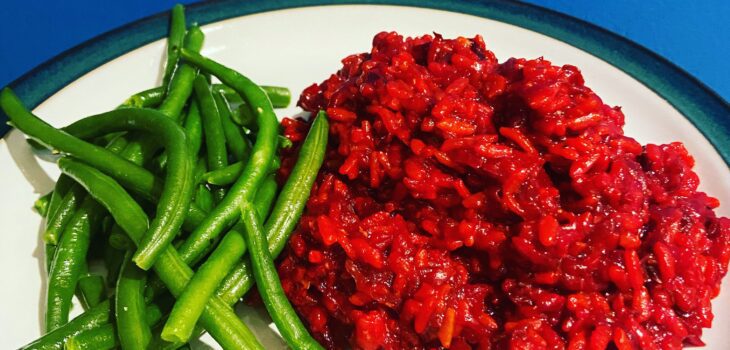
Beetroot Risotto

  • 31st August 202331st August 2023
  • by thefoodwife

Serves 2 (but easily scaled up)

I’ve been making a version of this for a while now, I’ve made it with vacuum packed pre-cooked beetroots (which I simply dice small and cook in with the rice) but the best version is with fresh, raw beetroot. The flavour and colour is unmatched.

I make this in my Instant Pot pressure cooker, but could be cooked traditionally or as an oven-baked risotto. It can easily be made vegan (see alternative ingredients below).

Ingredients:

1 tbsp Olive oil and/or butter

1 onion, finely diced

1-2 large raw beetroot, cleaned and coarse grated (or one pack of pre-cooked vacuum packed beetroot, finely diced)

150g arborio risotto rice

350ml vegetable stock (gluten-free/vegan as required)

Salt & Pepper

2 tbsp finely grated parmesan or nutritional yeast flakes

Step 1: Set the Instant Pot to sauté mode and add the oil/butter and onion to the pot. Stir frequently, until softened. Add the beetroot and rice and stir again for about a minute, before adding the stock along with a pinch of salt and pepper.

Step 2: Switch sauté mode off, put the lid on the Instant Pot and ensure the vent is set to sealing. Set the Instant Pot to Manual High Pressure and set for 6 minutes.

Step 3: Once the Instant Pot has completed its programme, switch off and do quick release, using a tea towel and wooden spoon to carefully open the vent. Once it has depressurised, remove the lid and stir through the parmesan/nutritional yeast. Serve immediately.

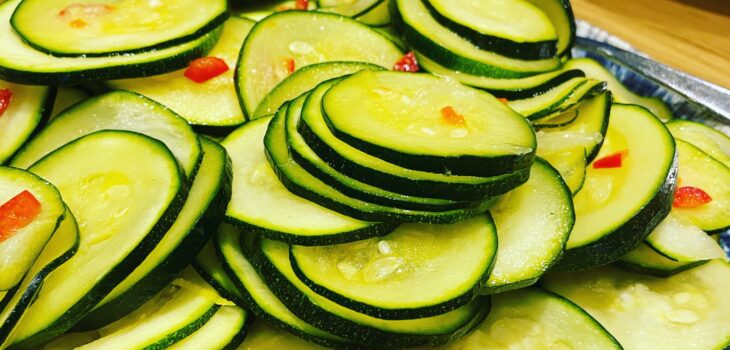
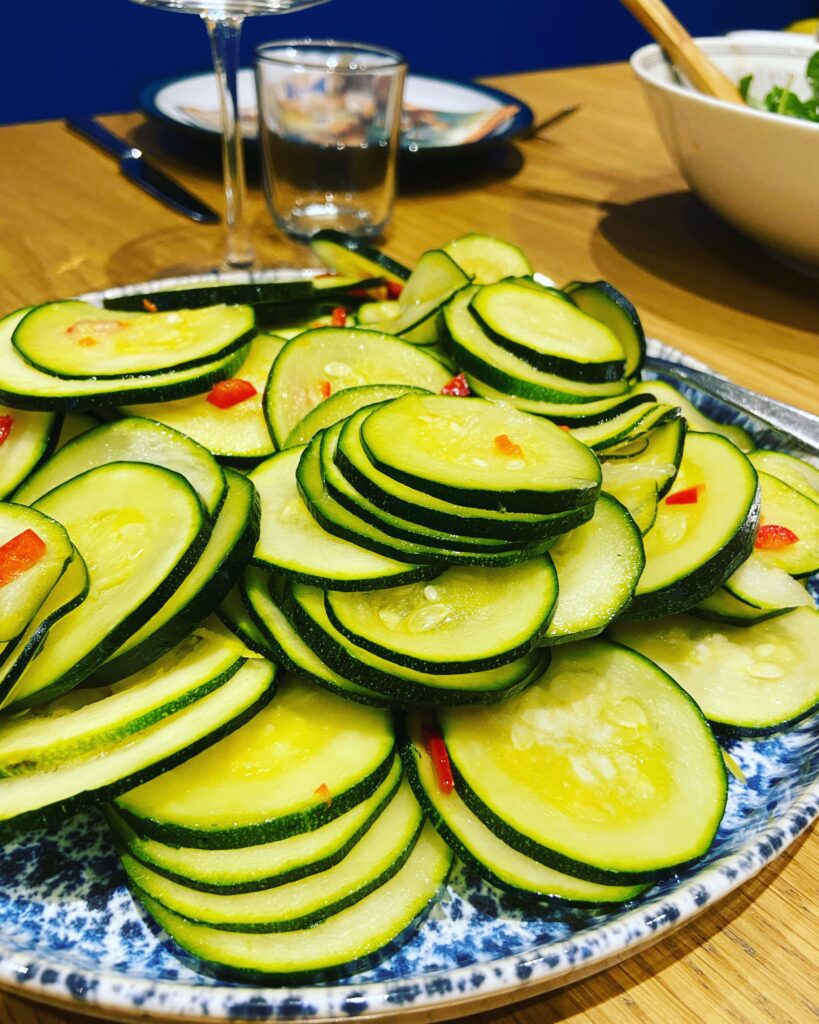
Marinated Courgette Salad

  • 1st July 20231st July 2023
  • by thefoodwife

Serves 8-10

Anyone growing their own courgettes, will soon be wondering what to do with them all. I give to you this salad. You’re welcome.

I first made it a year ago. And was pleased to revisit it yesterday when I had the girls round for a meal. Unlike a lot of salads, that you dress at the last moment, this is marinated for hours in advance. All the flavours develop and make the courgettes a perfect carrier for the lemon and chilli.

Words of advice for the best results: use young/fresh firm courgettes for the best results. This time it was before my courgettes were ready and I used ones from a shop which when I cut into them were ‘fluffier’ and ‘seedier’ than I would have liked, but they still tasted great once doused in the marinade. Use the best EVOO you have for the marinade. You will be tasting it! Ideally leave they to marinate in a large zip lock bag that you can occasionally massage, to get those flavours everywhere. If you only have Tupperware then give the box an occasional shake. I made this salad 10 hours in advance. Ideally make it on the day you want it, as early as you can, but give it at least a couple of hours to penetrate. Remove from the fridge at least half an hour before serving so it can get to room temperature.

Ingredients:

2-3 medium courgettes, washed and then sliced as finely and evenly as you can. Alternatively you can use a peeler to create long ribbons.

2 lemons, zest and juice

Extra Virgin Olive Oil

1 red chilli, finely chopped

Step 1: Place the sliced courgettes in a large zip lock bag and drizzle over a couple of seconds worth of the olive oil, the zest of both lemons, the juice of one, and the chopped chilli. Squeeze the air out of the bag as you seal it and then give everything a good massage through the bag.

Step 2: Check it is properly sealed and then lie it in the fridge for as long as you can that day. Every now and again give it a shake or massage.

Step 3: Remove from the fridge half an hour or so before serving. Pile onto a serving platter and squeeze of the remaining lemon juice just before serving.

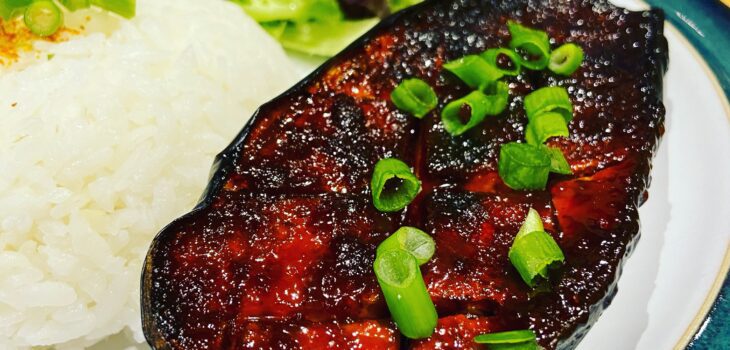
Korean Aubergine

  • 27th June 202327th June 2023
  • by thefoodwife

I LOVE miso roasted aubergine, and thought I’d give a Korean twist to it using the addictively spicy gochujang paste. I did this in the air fryer but you could definitely do it in the oven (step 1 you cover with foil and cook for 40 minutes at 180c fan, step 3 uncover and cook at 200c for 20 minutes).

Serve with rice and vegetables or salad.

Ingredients:

1 aubergine, cut in half length ways and then score the flesh with a wide hatch pattern

1 tbsp gochujang paste (gluten-free if required)

1 tbsp soy sauce (gluten-free if required)

1 tbsp maple syrup

1 tbsp mirin

1 tsp sesame oil

Step 1: Spritz a little oil on the flesh of the aubergine and air fry at 193C for 8 minutes.

Step 2: Meanwhile mix your glaze together by combining the gochujang, soy sauce, maple syrup, mirin and sesame oil together. If the paste is too thick, microwave for 30 seconds and then stir till smooth.

Step 3: Spread the glaze on to the softened aubergine flesh and return to the air fryer at 193c for 12 minutes.

Serve.

Posts pagination

Previous page 1 … 3 4 5 6 7 … 28 Next page

Newsletter

Blog Search

Blog Categories

  • Air fryer 2
  • Alcohol 12
  • Baby Weaning 24
  • Baking 74
  • Beef 18
  • Bread 1
  • Brunch 7
  • Cake 47
  • Chicken 48
  • Christmas 14
  • Cocktails 9
  • Dairy-Free 228
  • Dessert 37
  • Duck 1
  • Fish 12
  • Gluten-Free 254
  • Instant Pot 19
  • Lamb 6
  • Lunch box fillers 2
  • Ostrich 1
  • Pasta 4
  • Pescatarian 13
  • Pork 38
  • Rabbit 1
  • Salad 9
  • Shellfish 10
  • Soup 1
  • Turkey 10
  • Uncategorised 6
  • Vegan 136
  • Vegetarian 243

Socials

  • Facebook
  • Twitter
  • Google
  • Linkedin
  • Instagram
  • Pinterest
  • Youtube
Theme by Colorlib Powered by WordPress
Back to top