Skip to content
The Food Wife logo
  • Home
  • About
  • Blog
  • Contact

Category: Vegan

Roasted Butternut Squash and Garlic Soup with Garlic Butter…

  • 24th September 2024
  • by thefoodwife

Makes approximately 3L

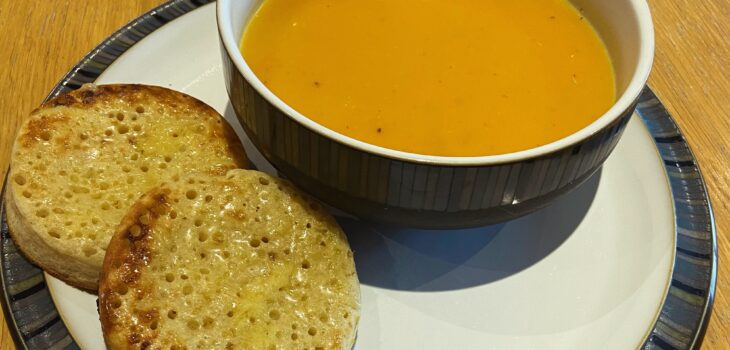
As the weather turns, and the nights draw in, what better comfort than soup. This bowl of sunshine will warm you up and it makes a nice vat of it so you can feed a crowd, or portion it up for the freezer for another day.

Ingredients:

1 butternut squash (weighing approximately 1kg), peeled, deseeded and cut into 1 inch chunks

500g (approx3 medium sweet potatoes) peeled and cut into 2 inch chunks

1 white onion, peeled and roughly chopped

1 head of garlic, wrapped in foil

Vegetable oil

1.5L Vegetable stock (vegan/gluten-free if required)

Salt and pepper 

To serve:

Crumpets (vegan/gluten-free if required)

Butter (vegan if required)

Step 1: Preheat the oven to 180c (fan) and get a large baking tray. Drizzle with a little vegetable oil and toss the squash, onion and sweet potato around, grind some salt and pepper over the top. Make a small hole in the vegetables in the centre of the tray and pop the foil wrapped garlic bulb in there. Roast in the oven for 40 minutes.

Step 2: Towards the end of the 40 minutes, put 1.5L of vegetable stock in a large sauce pan, bring to a simmer. Once the vegetables are out of the oven, add them to the pan along with 5 cloves of the garlic (skin removed) and take off the heat. Use an immersion blender to blend to a smooth consistency. Season to taste with salt and pepper.

Step 3: Toast crumpets to serve, and then take a clove of the roasted garlic and smash it together with a little butter (one clove should be enough for four crumpets). Spread over the hot toasted crumpets and serve immediately with the soup.

Any left over roasted garlic can be stored in the fridge for a few days and added to sauces or pasta.
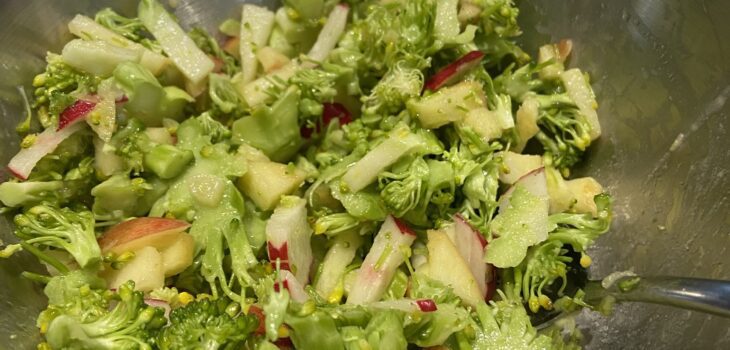

Broccoli, Apple and Radish Slaw

  • 14th July 2024
  • by thefoodwife

Well, this was flung together when I realised I’d forgotten to buy a cabbage… everything chopped small with a delicious maple syrup and mustard dressing. Definitely worth revisiting…

Ingredients:

1/2 head of raw broccoli, finely chopped

1 eating apple, cored and finely chopped

4 radishes, finely chopped

1 spring onion, finely chopped

1 tsp maple syrup

1 tsp Dijon mustard

1 tbsp olive oil

1 tbsp cider vinegar

Step 1: In a large bowl, combine the syrup, mustard, oil and vinegar into a smooth dressing.

Step 2: Add all the chopped ingredients and mix through, serve immediately!

Sugar Mice

  • 2nd July 20242nd July 2024
  • by thefoodwife

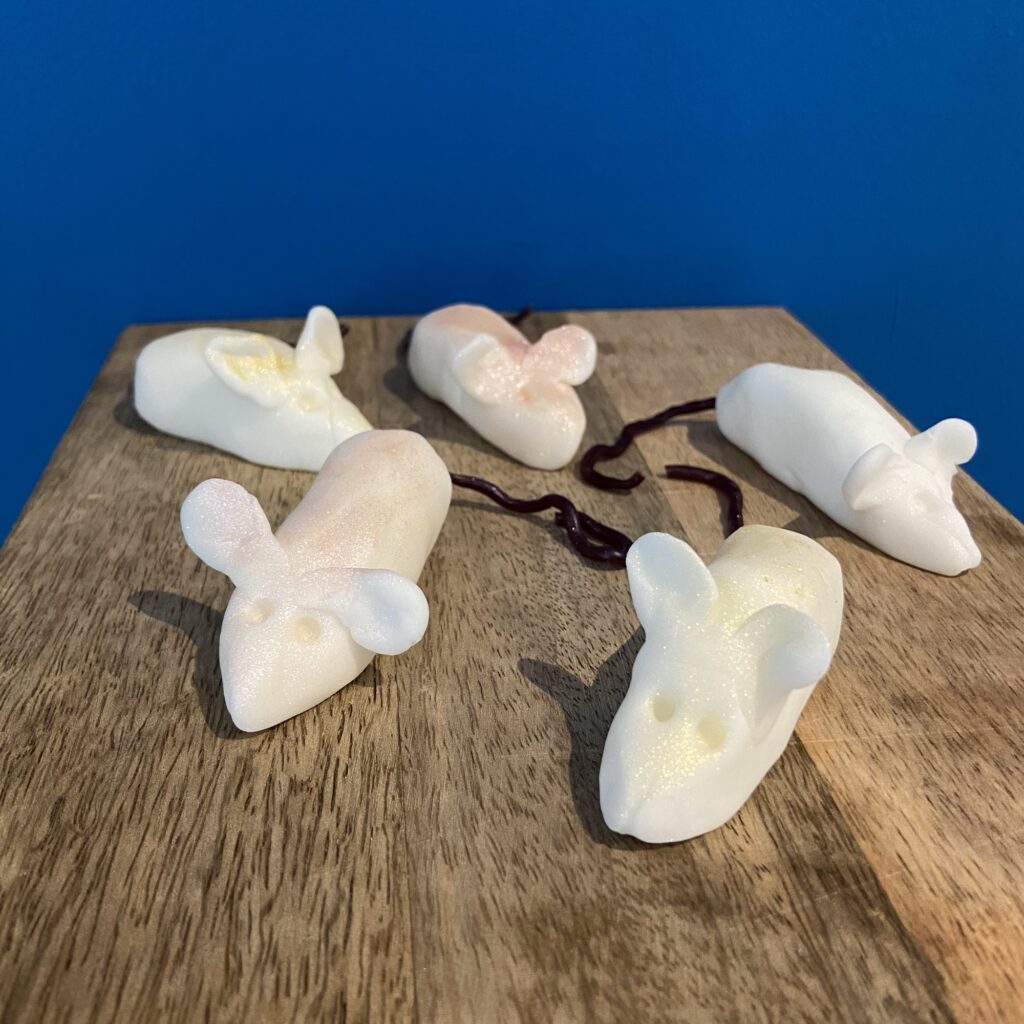
These are the cutest little mice and are hardly a recipe at all, rather instructions for little (or big!) hands to make using ready made icing.

Whilst these aren’t the crystally sugar mice (which have the sort of texture of Kendal mint cake) that you can still buy in old fashioned sweet shops, they are perfect to make at home.

Ingredients:

Ready made icing

Strawberry laces sweets (or similar)

Edible shimmer (optional)

Step 1: For each mouse measure out 30g of ready made icing, in the colour of your choice. Knead with your hands until smooth and pliable and then roll it in to a small sausage shape, then smooth one end into a round little bottom and the other in to a slight point for the nose.

Step 2: Use a cocktail stick (or similar) to make a hole in the rear end about 3/4 cm deep and insert a piece of the sweetie laces, cut to about 5cm long. Push it in as far as your hole goes and then use your fingers to gently pinch the icing around the tail and smooth it so it’s neat.

Step 3: Take a small piece of icing and make two small balls for the ears. Press each ball flat between your finger and thumb to make a little circle and then carefully smooth these onto the top of the head of the mouse, again use your finger to gently smooth the icing.

Step 4: Use the cocktail stick to poke two little eyes beneath the ears and then set each mouse to one side.

Step 5: If you like you can decorate the mice. I used an edible shimmer to lightly colour the mice.

Store in a sealed container until ready to eat!

The cutest little mice

Rosé Sangría

  • 5th June 20245th June 2024
  • by thefoodwife

Makes 1 pitcher

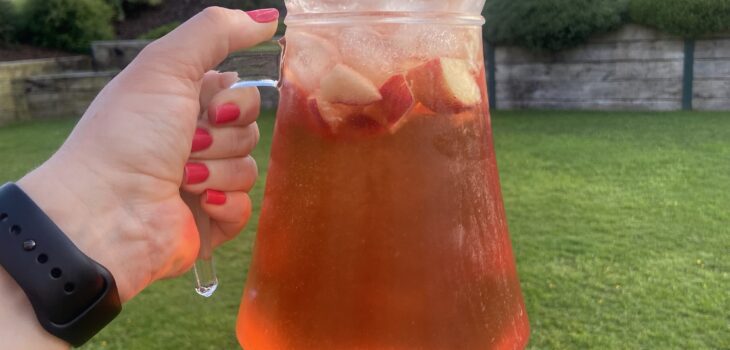
Rosé Sangria! Summery and refreshing and a great way to use up the odd bottle of rosé and make it go a little further…

You can garnish it with strawberries, orange, peach and nectarines and mint leaves. I’ve just used peaches as that’s what I had.

Mix 75ml of Grand Marnier or Cointreau, 10g sugar, a chilled bottle of rosé, 300ml of soda water and if you like 100ml of cranberry juice. Lots of ice and your fruit garnish.

Give it all a stir and serve, ideally in sunshine!

One-pot Penne Puttanesca

  • 2nd April 20242nd April 2024
  • by thefoodwife

Serves 2 (but easily scaled up)

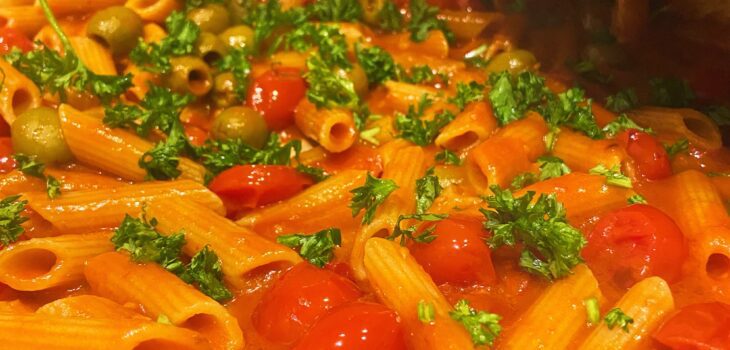
I’ve become a big fan of one-pot pasta cooking. Essentially the pasta cooks in the sauce and the end result is a wonderfully flavoured pasta in about 20 minutes. And only one pan needs to be washed up… result!

This sort-of Puttanesca can easily be adapted to be gluten-free and suitable for vegetarian or vegan diets (by omitting the anchovies/cheese).

Ingredients:

2 tbsp olive oil

4 anchovy fillets (leave out if making this vegetarian or vegan)

3 cloves of garlic, crushed or finely chopped

1/2 – 1 tsp dried chilli flakes

2 tbsp tomato purée

1 tin of cherry tomatoes

150g penne (gluten-free if required)

3 tbsp pitted olives

2 tbsp capers

Chopped parsley and grated Parmesan/Grana Padano to serve

Step 1: Heat the oil in a large pan (which also has a lid) over a medium heat. Add the anchovies and cook for one minute, moving around the pan so they break up. Add the garlic and lower the heat slightly. Continue to stir. After another minute add the chilli.

Step 2: Add the tomato purée and cook for a further 30 seconds and then the tinned tomatoes. Add the dried pasta and 300ml of recently boiled water. Stir, bring to a simmer, lower the heat and cover with a lid. Set a timer for 10 minutes. Stir occasionally.

Step 3: After 10 minutes add the olives and capers. Stir well, and replace the lid. Continue to cook, stirring and checking the pasta every 3-4 minutes. When the pasta is cooked (for me it took 18 minutes with the gluten-free pasta I was using) sprinkle with chopped parsley and then serve. Top with the grated cheese if you like.

Posts pagination

Previous page 1 2 3 4 5 … 28 Next page

Newsletter

Blog Search

Blog Categories

  • Air fryer 2
  • Alcohol 12
  • Baby Weaning 24
  • Baking 74
  • Beef 18
  • Bread 1
  • Brunch 7
  • Cake 47
  • Chicken 48
  • Christmas 14
  • Cocktails 9
  • Dairy-Free 228
  • Dessert 37
  • Duck 1
  • Fish 12
  • Gluten-Free 254
  • Instant Pot 19
  • Lamb 6
  • Lunch box fillers 2
  • Ostrich 1
  • Pasta 4
  • Pescatarian 13
  • Pork 38
  • Rabbit 1
  • Salad 9
  • Shellfish 10
  • Soup 1
  • Turkey 10
  • Uncategorised 6
  • Vegan 136
  • Vegetarian 243

Socials

  • Facebook
  • Twitter
  • Google
  • Linkedin
  • Instagram
  • Pinterest
  • Youtube
Theme by Colorlib Powered by WordPress
Back to top